Pages

Showing posts with label Sword & Spear. Show all posts

Saturday, 4 January 2020

Romans vs Hebrews with Sword and Spear

As Mark has finally finished re-basing his 15mm Hebrews, he gave them an outing against Colin's EIR army. I sat in as the Hebrew 2ic.

We out scouted the Romans and as the Hebrews have no heavy infantry, that meant that Colin  had to deploy the bulk of his army first. He put the majority of his legionaries on his right, obviously intending to smash what was in front of them on that side. Right in the centre he put his bolt shooters, with a couple of units on legionaries to hold the left. On either flank was a unit of skirmishers and 1 or 2 units of cavalry.

The bulk of our infantry were vastly out classed by the Romans, but we had quite a powerful mounted arm with 2 units each of heavy chariots and light chariots. We split the army roughly equally, I took a large force of dross spearmen, flanked by archers and sat them on a hill facing the Legions. On my flank I had a unit of skirmishers, one of camel mounted archers and 2 units of light chariots.

Mark had all our decent infantry, plus 3 units of dross, with skirmishers and the heavy chariots on his flank. Our plan was for me to hold up the main Roman attack, while Mark took out the smaller force in front of him, then swung around to roll up the line. On both flanks we intended to use our superior forces to break through and get behind the infantry line and attack from the rear (or at least break up the formation).

The Roman deployment.

Cavalry and skirmishers protect the flank of the Legionaries.

The Hebrew deployment.

Our stronger wing, led by heavy chariots.

My camels inflict the first blood of the game!

The cavalry wing guarding the Roman right flank (if you look closely you might see some bloodied remains beneath the wheels of the chariots!).

On my flank the Roman cavalry pull back to avoid massed bow fire.

Whilst the legions slowly plod forward.

A lucky round of shooting from the camels rout the last Roman cavalry unit.
The Roman casualties after turn 4.

And ours!

Unfortunately all my photos of the decisive action came out very blury, so I'll have to make do with a brief description.

With their flanks gone, all the Roman legionaries started advancing to get to grips before we could attack them in the rear. The problem with our heavy chariots was that they had been forced to pursue so were out of command range of the General. I had the two captains on my flank, so I was able to keep one moving up to maintain control of the chariots, but Mark only had the General on his side, another captain would have allowed him to be more flexible.

The legions eventually crashed into our rubbish foot, but because of the placement of our skirmishers and archers, they hit piecemeal rather in two solid blocks. On Mark's flank, one unit managed to hit the infantry line and routed our unit in two rounds of melee. Mark managed to charge one of his chariot units into the rear of the second legion, then hit it with the skirmishers in front and charge his best armorer foot into the flank. A Roman sandwich! The legionary unit was swiftly routed.

On my flank, one of the legion units detached and wheeled to face the chariot unit I have brought on to their flank, so when his line hit mine I had an overlap. The advantage to being on the hill helped my poorer quality infantry stand up to the legionaries, in fact I inflicted more hits in the first round of melee combat (Colin's dice were very poor for most of the game!). I wheeled my overlapping unit onto the Roman's flank and charged them in on the next turn, routing another legion, just as Colin managed to rout my infantry unit on the other end of the line! I managed to get the camels and the second chariot unit behind the flanking legion and poured in bow fire (at one point I could hit it with 5 units!). Eventually the unit routed, again just as another on my units routed. We were losing tit for tat on my flank, but I could afford to do that as his units were much better quality than mine and had a bigger impact on his army morale.

Eventually the Roman morale broke and it was an unexpected win for the Hebrews. Undoubtedly smashing the Roman Cavalry and getting the chariots behind the legion's line was the winning tactic. That said, if I hadn't had that convenient hill, my infantry might have broken too soon for the chariots to get into place. A good fun game all round.

The final Hebrew casualty count.

And the Romans!

Other games on Friday night.

WW2 28mm with Chain of Command.


6mm 18th Century using Black Powder.

Dystopian Wars naval game.


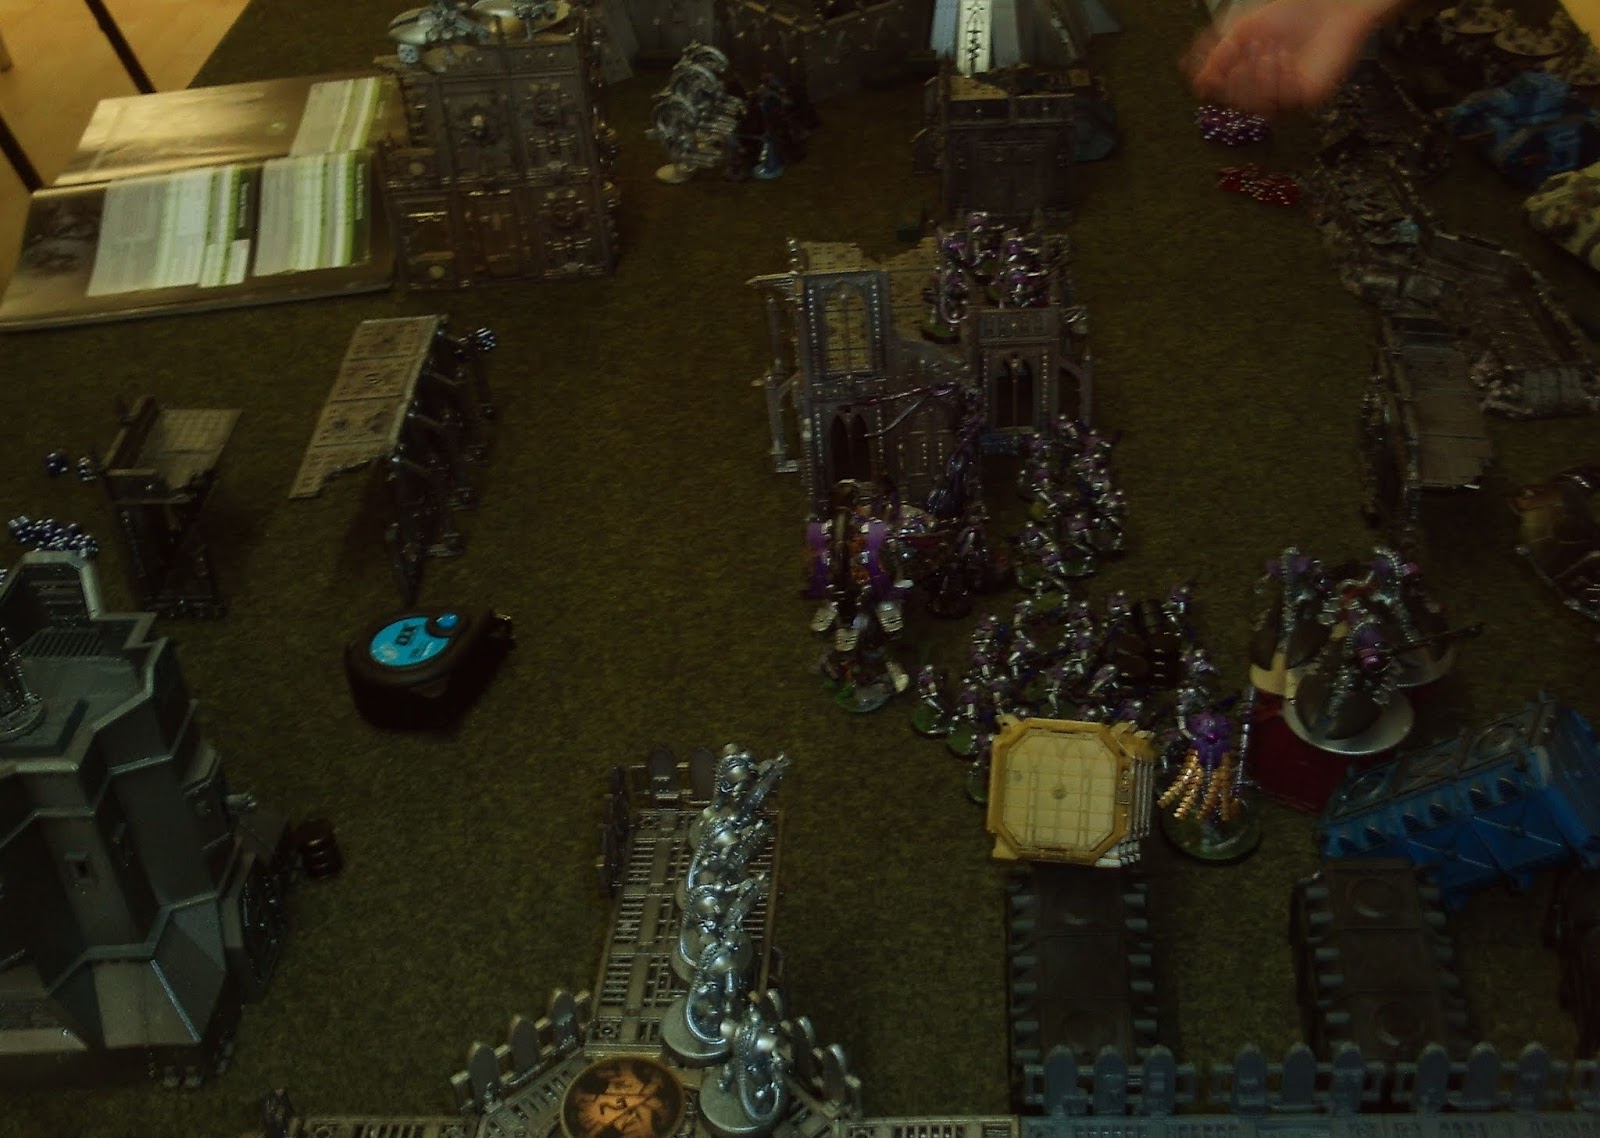
And a Warhammer 40K game with some impressive models.

Saturday, 7 September 2019

Sword and Spear - 10mm Wars of the Roses game

We gave Sword and Spear another outing with our Wars of the Roses armies at the last club night. We have played these rules a few times, but I'm still not convinced with then for this period. I've previously enjoyed them for games with Dark Age shieldwall armies and Roman era games, so we will persevere. I think we need to try a couple of tweaks to better reflect Bill and Bow units and see how they go.

The battlefield was an open valley with hills and wooded areas on either edge.
Mark and Henry set up the Yorkists with their mercenary pike block in the centre of the line, with their Irish kerns on one flank and mercenary handgunners, backed by border horse, on the other.
I decided on a bit of a gamble and split my Lancastrian force, intending to take the high ground on either flank.  On each flank I put bowmen on the far end of my line with the melee troops closer to the centre of the table. If I took the hills I could hope the advantage of the ground would help be beat of their attacks, or if I had the opportunity I could envelope one (or both) of their flanks.

On Mark's flank my archers quickly took possession of the hill while my handgunners into the wood in front of it. Mark countered by moving his handgunners up block them, but that brought them into range of one of my longbow units, who rolled a 6 for activation (which I used to add a bonus to their shooting) and cut the handgunners down. His line now look a bit exposed so he brought the border horse forward to screen his flank.

On Henry's flank the hill was farther away so my longbowmen plodded forward onto the lower slopes. The Yorkist main line didn't do anything much for the first few turns of the game. Henry was reluctant to advance until he had secured the hill on his flank and Mark didn't want to advance unsupported. I wasn't sure why, my deployment meant I was effective fighting two separate battles on the flanks, The gap between my troops was for too much for me to have reinforced the flank facing Mark, even if Henry had decided to retire! As it was, their inactivity allowed me to concentrate on my flanking maneuvers.

Henry decided to contest the hill with his Irish kerns and moved them forward, reaching the top of the hill first. However light infantry with javelins against longbows wasn't going to end well...and it didn't. One kern unit routed straight away from the arrow storm. The other did get close enough to inflict one hit on a longbow unit before it to was blasted away. Henry now brought his reserve unit of mounted men-at-arms up but my longbowmen planted stakes and stood back, making rude hand gestures. He decided a frontal charge probably wasn't worth it, so pulled them back again, out of range.  This allowed me to take control of the hill, from where I could pepper his infantry with bowfire if they decided to advance against my melee troops after all.  In the next turn Henry decided to strike before my archers had time to set their stakes and charged up the hill with his knights in very shiny armour. He hoped the lance charge would smash the unit on the end of my line and give his infantry the opportunity to advance unmolested. \Even with the advantage of ground I was not in a good position, but the dice gods smiled upon me and the charge failed, with equal casualties on both sides. This was the opportunity my border horse were waiting for as they were hanging around behind the line of bowmen and they charged the end of the knights line in turn. It was enough to send the knights over the edge and the unit routed. Henry now pivoted the end of his line to face the bowmen on the hill.

On Mark's flank I had positioned two longbow units to be able to shoot at his flanking unit, whilst the handgunners moved around their flank.  The light horse were quickly cut down by the archers and I moved on to his next unit in the line. Seeing his line slowly crumble didn't appeal, so Mark decided to charge forward (at last), detaching a longbow unit to prevent his line being flanked. It didn't help, now under fire from 3 units, the flank guard soon gave way. As the Yorkists advanced their archers concentrated on my men-at-arms in the centre of my melee line, who took a couple of hits before the lines clashed. In the melee Mark concentrated his attacks on the men-at-arms, hoping to break them and isolate the billmen on either side. Overall he inflicted more hits than he took in the melee, but my line held and I now had archers behind the Yorkist flank. My next activation roll was just what I needed, two 6's and two 5's! I was able to charge a unit of archers into the flank of Mark's end unit, the maneuvre another unit of archers aside, allowed a clear charge for my reserve heavy cavalry to hit the same end unit. Under the successive hammer blow the unit routed.

By now the Yorkist pikemen in the centre had started to move across to support Mark's attack, but it was two late. In the next round of combat, as I rolled up his line, two more units routed and the Yorkist army reached break point!

No so many pictures this game, I'm not sure what was wrong, but several came out blurred this time.

The Yorkist Line

The Lancastrian Left Flank

The Lancastrian Right Flank

Kerns and Knights face off against my longbowmen

Yorkist losses at the end of turn 2

Yorkist losses at the end of turn 4 (sorry no pictures of the Lancastrian losses, I didn't lose a single unit in the game)

Other games on that night.

Warhammer 40K

WW2 Chain of Command, somewhere in the Far East

And a blast from the past, Man O'War


Sunday, 27 May 2018

Sassanid Persians and Romans with Sword and Spear

Finally blew the dust of my 10mm Late Romans and Sassanid armies for a game of Sword and Spear at the club last Friday. The rules worked very well and we had a fun game. Despite early success for the Sassanids it ended up quite a close fought game.

It started well for me with the Sassanids. In the first turn Mark advanced his light cavalry in front of my cavalry, then, after I activated them he said "Oh, have they got bows?". Javelins vs bows at long range never goes well, I rolled lucky dice and...dead light cavalry. It went on from there until the Romans finally got their heavy infantry into play. They proved a tough nut to crack. Eventually, with losses mounting on both sides, the Sassanid cavalry broke through at the end of the Roman line and went through onto the camp. That was enough to push the Romans over their break point.

 The Roman army viewed form the Sassanid side.

 And the Sassinds from the Roman perspective.

 The Sassanid cavalry flank.

 Roman heavy infantry massed in the centre.

 The Sassanid cataphracts run into the infantry reserve, after routing a unit of Roman cavalry.

 Sassanid cavalry start to outflank the Roman line.

 The Roman losses after turn 3.

The Sassanid losses at the same time.


Other games that night, a 15mm AWI game using Black Powder.


Two Warmaster 40K games.


A WW2 game using Chain of Command.

The Germans queue up to make use of the out house.

Another WW2 Chain of Command game, this time set in the Far East.


Monday, 2 April 2018

Yorkists 2, Lancastrians 0

At the last Tring Club Games Day I organised a 4-player Wars of the Roses game, using Sword and Spear. Each player controlled a 400 point army, so Lancastrians, Mark and Ian R, faced of against the Yorkists, Ian H and myself. At one point we were considering making a club rule that everyone should be known as Ian, because we had 5 Ians on the membership list and it would make it easier for new members to remember names.

Ian R faced off against me on the Western side of the battlefield and Mark squared up to Ian H on the East. The Lancastrian forces were slightly balanced in favour of their heavy infantry, so would have the advantage in melee. I'd gone for a more shooty option with the Yorkists, which gave us more manoeuvrebility and an advantage if we could keep them at a distance.

I won the scouting phase and had the advantage of deploying my units last. Ian H and Mark when for a fairly traditional approach and squared off against each other. Ian R massed his heavy infantry on his left flank (towards the centre of the table) with a pike block on the end of the line, bridging the gap between his command and Marks. Given how slowly heavy infantry move and how difficult it would be to manoeuvre the pike block, I deployed with a refused flank of my billmen facing his heavies, hoping to out-shoot his longbowmen and get around the heavy infantry's flank before they could close with mine. Just for good measure I stuck my dismounted men-at-arms in the middle of my bowmen with the idea that they would make short work of any bowmen they got into contact with. Unfortunately t'other Ian didn't realise what I was doing and, probably worried by what seemed to be a gap in our lines, moved troops across to fill it - but more of that later.

 The Eastern side of the battlefield.
 And the Western side.
 A view from the Lancastrian side of the table.

In the opening move my idea of using longbows to take the enemy out at a distance was demonstrated, but not in the way I had intended. With first shot of the game (and some outstanding bad dice on my part) Ian wiped out one of my militia longbow units with a single volley!

The rest of the first turn passed unexceptionally. None got outstanding activation dice, so everyone edged a few units forward and did the odd bit of shooting. Ian advanced his crossbow and a militia longbow unit into the wood in the centre of our positions, so I threw my Irish kerns in after them but all they achieved was take a hit themselves. I moved my handgunners in to the wood to support them, unfortunately I forgot that the handgunners cannot move and fire, so they just stopped in front of the crossbowmen, frantically trying to relight their matches. Sadly Ian got to activate his men before me in the next turn and blew them away! Over on the Eastern flank the two sides carried on battering away at each other. In the meantime the pike block started it's slow advance across the table.


Irish in the wood, where did those Flemish handgunners go?
The pikemen crawl across the table (notice the border horse in the corner of the picture, they ain't on the same side!).
Things get nasty on the Eastern side of the battlefield.

By now Mark had got most of his heavy infantry into contact, but they were not having the desired effect. It was looking pretty even on the Eastern flank, both sides had lost a couple of units, but Mark had several militia units close to breaking due to the shooting casualties they had taken as they crossed the gap between the armies.

Back on my side of the game, my longbow superiority was starting to tell when I had an amazing stroke of luck. Ian was using his general to frantically rally units I'd shot up before they broke, when I routed the unit he was attached to. Ian rolled a 6, HE'S A DEAD UN!
Morale checks for the dead general, plus an army test for reaching 1/3 casualties were mostly successful, at least for the units that were already engaged.
It would be a huge headache to try and control his force with the reduced command radius his captain had. Most of his army would be out of command, he could either try to shore up his scattered bowmen, or else concentrate on his heavies, getting them into contact whilst he still could. He chose the latter, starting to move units across to face mine and edging his pike closer to the end of Ian H's line.
Lancastrians batter at the Yorkist line.
A view from the Lancastrian East flank.

By now my guys were on a roll and Ian R's troops dropping like flies, I just needed one more unit destroyed to reach is army break point. He charged his pike into a unit of Ian H's archers, who gave them a bloody nose, then Ian charged them in the flank with his border horse. Even light cavalry charging with lances has a punch and the dice gods were obviously favouring York this day, because in no time the pike had taken 5 hits and were just one away from breaking (and routing Ian's command). At this point Mark took the opportunity to open his mouth and boldly stick his foot in it. He turn towards his fellow commander and said, "I think you have lost this battle for me!". Oh dear, oh dear, oh dear...!
A minute or so later, one of Mark's bill units routed, taking him over 1/3 losses and requiring a morale check for all his units. His dice rolling was average, about half his units passed and half failed. Unfortunately, all those that passed were at full strength and all those who failed were the ones that had already been shot up, so 3 or 4 further units routed in sympathy with the unfortunate billmen. In a single combat Mark had gone from just under 1/3 losses to over 50% and his command broke!
How we laughed.....

Checking the rules, it seemed that, in a multi player game, we should combine the two commands for calculating the army's break point, so as Ian R hadn't quite reached the 50% loss point, we could fight on. However in the next turn the pike routed and wiped out Ian's border horse, taking their combined losses well over 50%. An outstanding Yorkist victory!
Most of us were fairly new to Sword and Spear and we were all happy with how the game played out. We realised that we had got a couple of minor things wrong, but for the most part we had stuck to the rules. I think we will be playing these rules more often and I need to dig out my 10mm Late Romas and Sassanids to give them an outing.

Just to rub it in, the Lancastrian losses (the pike block hadn't been added to the pile yet at this point!).
And the Yorkist losses!


There were two other games going on at the Games Day.

 A Warhammer 40K battle.
And a large 4-player Congo game.