Pages

Monday 28 May 2018

1920s Pulp and WW2 Malaya at Vanquish Show 2018.

Tring Wargames Club attended the Vanquish show at Bourne End on Sunday with two games. Vanquish is a small event, held in the Bourne End Community Centre, with about 15 traders and half a dozen demonstration and participation games. It also offers basic, but good value refreshments (my breakfast bacon roll had 3 rashers of good quality bacon) and a bar serving some excellent Rebellion ales from the Marlow Brewery.

It was a fun day, both games went well, although the Mounties didn't always get their man in my pulp game.

I was particularly impressed with the mix of traders, there was an absolute minimum of duplication in the stock on offer (in recent years I have often wandered around some of the larger shows and felt that I've seen the same stand 4 or 5 times!). I was quite restrained compared some other club members, I picked up a couple of mdf inserts for Really Useful Boxes from Commission Figurines, a few nice resin scenery bits from The Square and a few paints.

Our two games were:

Winter War 1920. A pulp games set in a fiction border war between Canada and the USA using The Men Who Would Be Kings (I really like these versatile rules which I've used for Colonial games, the 1912 Balkans War and various pulp-style scenarios).


The Long and the Short and the Tall. A WW2 game set in Malaya based on the play and film from the 1960s. This used a set home brewed rules specifically designed for a kids participation game using old 54mm plastic figures by Airfix.


I also continued my tradition of running a game appropriate to the foreign visitors to the show. A couple of years ago I was running a 1912 Balkans War game at Warfare and had no sooner laid the game out when a Greek couple came rushing over, having seen the Greek flags from halfway across the hall. This time, almost the second I put the mounties on the table a Canadian couple wandered over!

Sunday 27 May 2018

Sassanid Persians and Romans with Sword and Spear

Finally blew the dust of my 10mm Late Romans and Sassanid armies for a game of Sword and Spear at the club last Friday. The rules worked very well and we had a fun game. Despite early success for the Sassanids it ended up quite a close fought game.

It started well for me with the Sassanids. In the first turn Mark advanced his light cavalry in front of my cavalry, then, after I activated them he said "Oh, have they got bows?". Javelins vs bows at long range never goes well, I rolled lucky dice and...dead light cavalry. It went on from there until the Romans finally got their heavy infantry into play. They proved a tough nut to crack. Eventually, with losses mounting on both sides, the Sassanid cavalry broke through at the end of the Roman line and went through onto the camp. That was enough to push the Romans over their break point.

 The Roman army viewed form the Sassanid side.

 And the Sassinds from the Roman perspective.

 The Sassanid cavalry flank.

 Roman heavy infantry massed in the centre.

 The Sassanid cataphracts run into the infantry reserve, after routing a unit of Roman cavalry.

 Sassanid cavalry start to outflank the Roman line.

 The Roman losses after turn 3.

The Sassanid losses at the same time.


Other games that night, a 15mm AWI game using Black Powder.


Two Warmaster 40K games.


A WW2 game using Chain of Command.

The Germans queue up to make use of the out house.

Another WW2 Chain of Command game, this time set in the Far East.


Sunday 20 May 2018

10mm War of Spanish Succession - Saragossa 1710

At the May Tring Club Games Day, we staged a big 10mm battle based on the Battle off Saragossa, fought on 20th August 1710. The game was fought using Black Powder, with Last Hussar's Blenheim Palace amendments.

Historically the Allies had advanced out of Catalonia, defeating the Bourbons at the battle of Almenara. They then pursued the retreating Bourbons with the intent of finishing them off, catching up with then at Saragossa. The Allied army had 30 infantry units and 20 cavalry against the Bourbon's with 24 infantry and 30 cavalry. We had a great time playing this and the battle resulted in an overwhelming draw for the Bourbon army.

Both cavalry flanks got stuck in long before there was any infantry action. Interestingly on the right of the Bourbon army all the brigades on both sides ended up in a Broken state, but on the Bourbon left only one brigade (an Allied one) broke in the closing stages of the battle. I think this reflected the different tactics being used. On the left, both commanders maintained their lines. The front brigades clashed, then the commanders pulled them back to join any retiring units behind the safety of the second line where they could rally. In the meantime the second lines clashed and repeated the process. Both sides would pause their attack to reform their lines. On the right, the British commander threw his second line out to try and outflank the Bourbon cavalry, which forced the Bourbon commander to do the same to counter the move. So the two second lines contacted each other piecemeal and the cavalry melee degenerated into a messy scrap. As neither side had the security of a rear line to reform behind, units were thrown back in to battle with less opportunity to rally properly. It became a far more of a battle of attrition than the other wing.

In the centre the Catalan/Austrian infantry failed to advance, whilst the British/Dutch contingents raced across the battlefield. The Catalan dice was so bad that the British commander insisted on the infantry Reserve being committed to guard his flank! The Bourbons advanced far enough to anchor their flank on the woods and were otherwise content to await the allied attack. The British took pretty horrendous casualties, despite their platoon firing they were out-shot by the Bourbon infantry and the Dutch units that tried to support their attack were also badly shot up. The Spanish/Austrians finally got going but were really just an audience to the Reserve's attack in the Bourbon lines, which was thrown back and the brigade Broken.

At this point we took stock. On the Allied side 5 of their 9 brigades were Broken, against 4 of the Bourbon 10. However we realised we had forgotten the rule that artillery do not count towards calculating a Broken brigade, so one of my Bourbon infantry brigades was also Broken (but that also meant that the British brigade would have been gone at least two turns earlier!). So we called it a draw, to the advantage of the Bourbons.  Historically the Marquis de Bay would have been delighted with that result and considered it a victory!

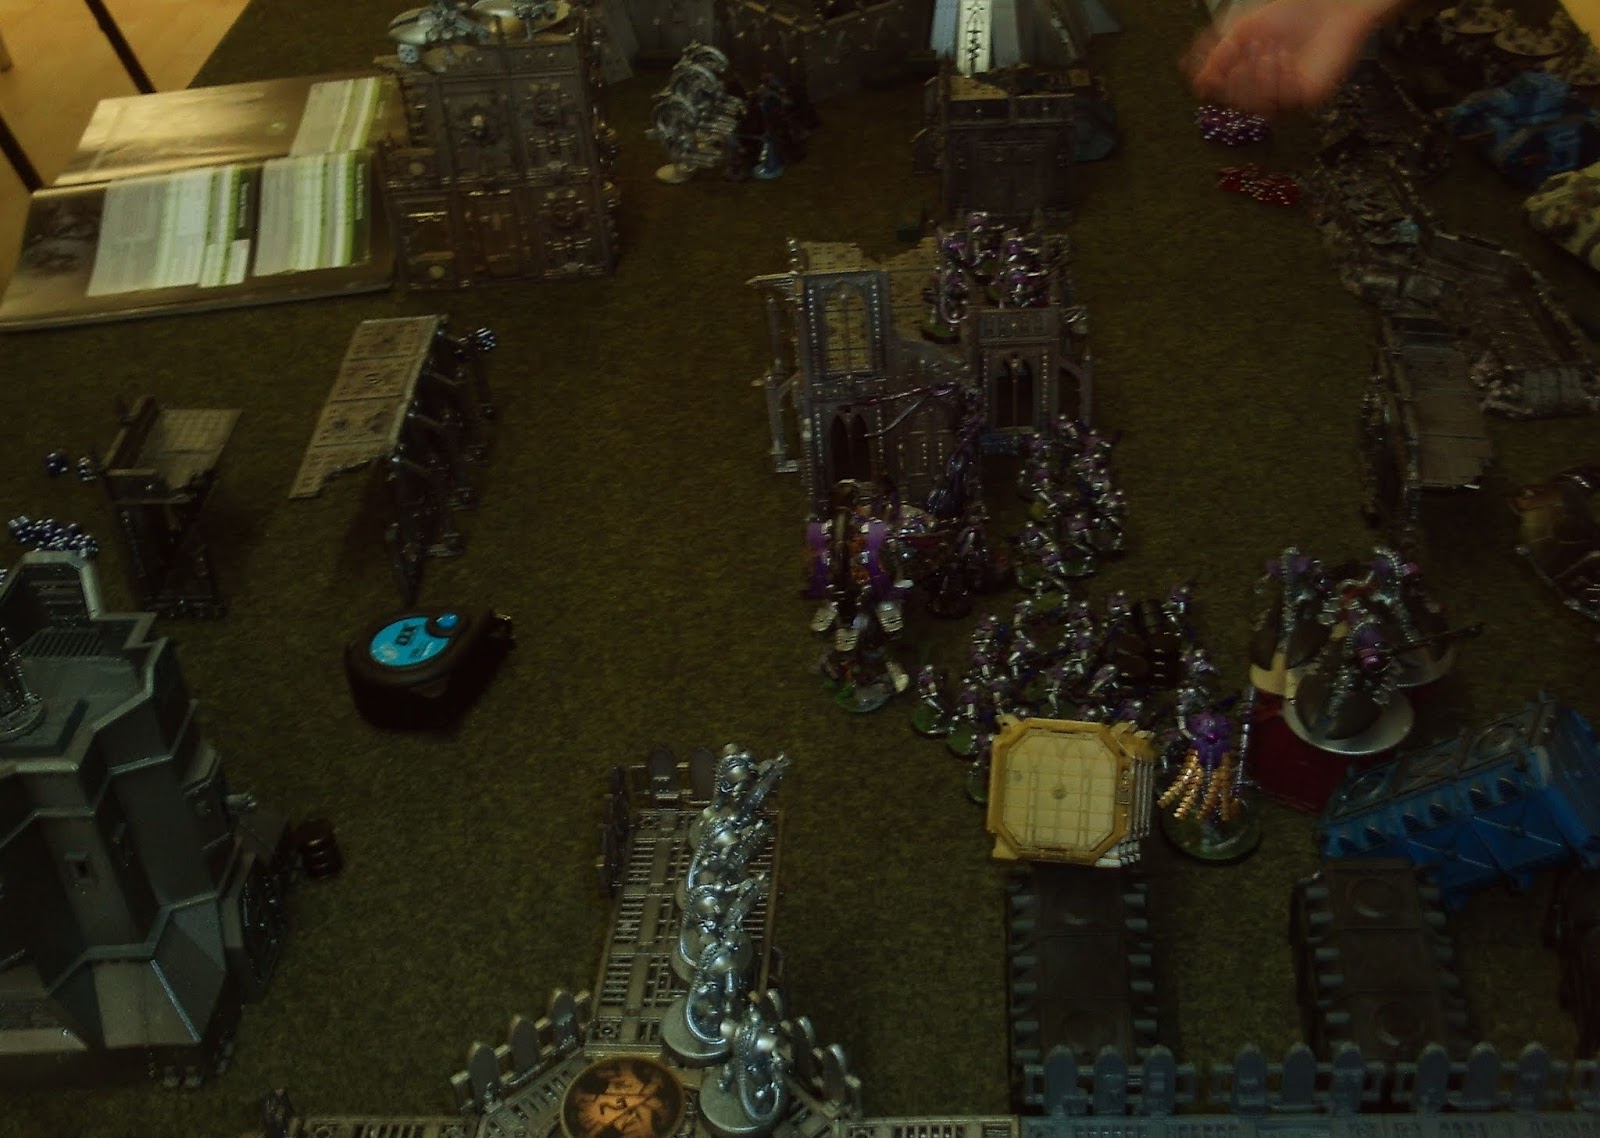
Here are  some pictures of the battle.

 Initial deployments, from the Allied side....
.....and the Bourbon side.